Crafting hair designs can greatly amplify the creative pleasure found in drawing, adding substantial character and depth to your illustrations. Regardless of whether you are doodling leisurely or concentrating on producing an intricate portrait, experimenting with various hair styles – including various curls and updos – can truly bring my sketches to life. Every hairstyle exemplifies a unique style, showcasing a wide variety of textures and thicknesses that reflect the complex nature of hair.

Crafting the perfect hairdo isn’t just about the strokes you make but understanding the way hair flows and reacts to movement and styling. From silky straight tresses that cascade gracefully to bouncy curls full of life, each type has its characteristics that I love to capture on paper. Moreover, choosing the right hairstyle can convey a lot about a character’s personality and style, making it an integral aspect of character design.
I often draw inspiration from real life, examining how light interacts with hair or how it falls and parts on different individuals. With a plethora of hairstyles to explore, the realm of possibilities is endless, encouraging me to think outside the box and push the boundaries of my artistic skills. Whether it’s a punk-rock mohawk, elegant braids, or a simple messy bun, every hairstyle I draw contributes to the unique identity of my creations.
Basics of Hair Drawing
When I start working on drawing hairstyles ideas, I always focus on grasping the core principles first. It’s crucial to understand hair structure and which tools can best bring the drawing to life.
Understanding Hair Structure and Types
Hair is more than just lines on paper; it has form, texture, and volume. Each strand works in concert with others to create a hairstyle’s overall look and feel. Textures range from straight to curly, and each type requires a different approach when drawing hairstyles ideas. Sketching the hairline sets the foundation for the hairstyle, and considering hair types is essential as they influence how light interacts with the hair, affecting the perceived volume and style.

- Straight Hair: Sleek with little to no wave; reflects light well, thus has a high shine.
- Wavy Hair: More volume than straight hair; the waves must be captured fluidly to maintain realism.
- Curly Hair: Has lots of volume and texture; each curl should be defined to show depth.
- Coily Hair: Very voluminous with tight curls; light doesn’t reflect evenly, so shadows are important for definition.
Tools and Materials for Drawing Hair
The right tools can make a big difference in the outcome of your drawing hairstyles ideas. For beginners, graphite pencils offer great control and variability in shades. Experienced artists may prefer colored pencils to add a lifelike hue to the drawn hairstyles.

- Graphite Pencils: Ideal for creating subtle texture and varying degrees of shadows.
- Colored Pencils: Best for bringing in natural or vibrant colors and for layering different tones to achieve the desired texture.
- Blending Stumps: Useful for smoothing out pencil strokes to give a more realistic texture to the hair.
By understanding the basics of hair’s structure, types, and the necessary tools, you’ll be well on your way to mastering the art of drawing hairstyles ideas.
Fundamental Techniques
When I’m drawing hairstyles ideas, I focus on the core skills—getting the shape just right, ensuring the hair has volume and depth, and giving it life with detailed texture. Here’s how I tackle these aspects.

Sketching and Outlining
Before diving into complex details, I start by sketching the basic outline of the hairstyle. It’s crucial to capture the overall shape and flow of the hair, considering how the hair parts and which direction the strands go. My approach often involves light pencil strokes to create a guide without committing too deeply before I’m sure about the structure.

Adding Volume and Depth
Once the outline is set, I give the hair volume and depth. I do this by imagining where the light hits the hair and where the shadows naturally fall, which dictates the hair’s three-dimensionality. Curved lines parallel to the hair flow help create the illusion of volume when you’re drawing hairstyles ideas.

Shading and Highlighting
Shading is where the magic of highlights and shades comes into play. I use a mix of soft and firm pencil strokes to create contrasts that mimic how hair reacts to light. The key is to shade lightly at first and then deepen the tones where the hair would be in shadow.

Creating Texture and Detail
The final piece of the puzzle is adding texture and details. I use a variety of pencil strokes, like tight circular strokes for curly hair, to give the impression of individual strands. The idea is to not draw every single hair but to suggest the right texture with strategic marks and lines. Step-by-step tutorials have helped me a lot in mastering these finishing touches.

By keeping these techniques in mind, anyone can begin mastering the art of drawing hairstyles ideas with realistic depth and detail.
Drawing Different Hair Types
When I work on drawing hairstyles ideas, considering the hair type is crucial. Each type behaves differently and has its unique challenges.
Straight Hair
Straight hair is often defined by its sleekness and smooth texture. To convey this in your drawings, use clean, straight lines. When I draw straight hair, I make sure to include a subtle sheen by adding thin highlights along the length to show how light reflects off the smooth surface.

Wavy Hair
In contrast, wavy hair combines elements of straight and curly hair. I depict waves with gentle curves, ensuring that the lines I use are less uniform than straight hair but more subdued than curly hair. I try to capture the rhythm of the waves, alternating between light and shadow to give the hair volume and movement.

Curly Hair
There’s a playful complexity when drawing curly hair. It’s all about the spirals and how they stack and intertwine. I pay close attention to the individual curls, using tighter, circular strokes. When shading, I tend to emphasize the depth where curls overlap, which brings out the texture vividly. So imagining drawing curly hair as drawing hairstyles ideas shouldn’t stop you, even if it looks complex at first.

Styling Hair in Drawings
When I explore drawing hairstyles ideas, I like to focus on the details that make each style unique. Let’s dive into how we can capture different aspects of hair, ensuring our sketches are as lifelike and engaging as the real thing.
Drawing Bangs and Parts
Drawing bangs requires attention to how hair naturally falls and frames the face. For straight-across bangs, I draw a clean line over the forehead and then add individual hair strands, ensuring they vary slightly in length for a natural appearance. Side bangs, on the other hand, flow diagonally across the forehead and merge into the hairstyle’s parting. Remember, the parting is often a softer line that separates the hair, and it should guide the direction in which the hair strands flow.

Capturing Hair in Motion
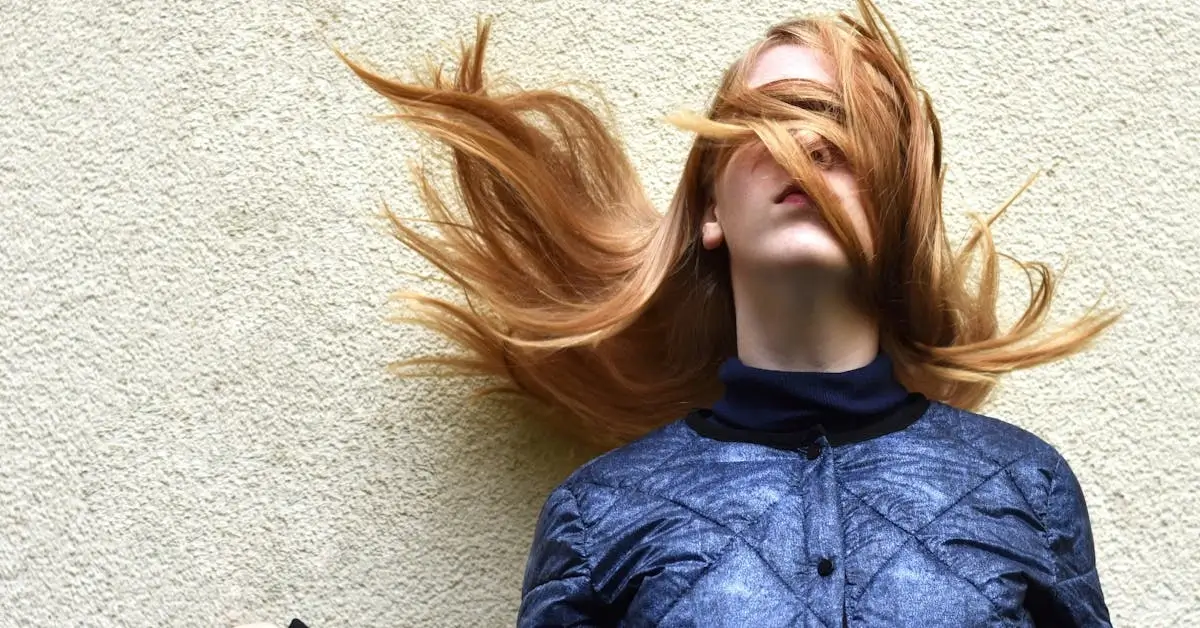
Conveying hair flow in motion can give your drawing dynamic energy. To illustrate hair swinging or flipping, I use fluid, curving lines that suggest movement — with some strands following the motion more closely and others trailing behind for a messy effect. Capturing this motion when drawing hairstyles ideas is about understanding how hair interacts with air and motion, so keeping your lines loose and dynamic is key.

Creating Updos and Braids
Drawing updos like buns or braids can be complex but rewarding. For a classic messy bun, I start with a rough base shape and then layer strands around it, allowing some to poke out and fall naturally for a relaxed look. Braids demand more structured, interwoven lines that repeat the braiding pattern, and sticking to this rhythm is important. Whether it’s a tight French braid or a loose side braid, remember the overlap of sections and the slight elevation from the scalp to make it pop off the page.

Drawing Hair Step-By-Step
When I approach drawing hairstyles ideas, I like to break it down by length because each has its unique characteristics and challenges. Let’s dive into different hair lengths and the best way to bring them to life in your art.
Drawing Short Hair
Short hair can range from pixie cuts to bob styles. The main thing to capture is the hair’s texture and the way it frames the face. Start by sketching the overall head shape; this sets boundaries for the hair. Then add light strokes to suggest individual strands, ensuring to show movement and direction. Remember the hairline; short hair often reveals more of the natural hairline, so it’s essential to get this part right when you’re drawing hairstyles ideas.

- Step 1: Outline the head shape.
- Step 2: Indicate the hairline.
- Step 3: Use short, sharp strokes for texture.
- Step 4: Add shadows for volume.
Drawing Medium Hair
Medium hair often allows for more styling variety, from straight to wavy looks. The key to medium hair is showing its layered nature and how it falls naturally. Begin with the central parting line and build the hair around it. Use flowing lines for the strands to emphasize hair’s softness and longer segments.

- Step 1: Begin with the parting line.
- Step 2: Add guidelines for the overall hairstyle shape.
- Step 3: Detail with flowing strands.
- Step 4: Shade to create depth.
Drawing Long Hair
The challenge with drawing long hair is representing its weight and the way it interacts with the body and environment. Start with a basic line to capture the hair’s flow. Layer in sections to denote the strands, and remember to show how the hair rests on the shoulders. Long hair often means more dramatic shadows and highlights, which give it life.

- Step 1: Lightly draw the hair flow line.
- Step 2: Segment into larger hair sections.
- Step 3: Refine strands, focusing on natural waves or curls.
- Step 4: Apply finer shadows for volume and highlights for shine.
Advanced Drawing Techniques
When it comes to drawing hairstyles ideas, mastering advanced techniques can truly elevate your portraiture work. These methods not only enhance the realism of your subjects but also give you the creative freedom to experiment with a myriad of styles, textures, and effects.
Portraiture and Facial Features
Understanding the Skull: To accurately depict hair, it’s crucial to comprehend the structure of the skull beneath it. The hairline and volume depend on the shape of the skull and the way the hair grows from the scalp.

Facial Features and Hair: The interaction between the hair and facial features provides context and realism. When drawing hairstyles, I use hatching and cross-hatching techniques to create a texture that resonates with the features such as eyes, nose, and mouth, keeping in mind the variations in cut and layers for advanced portrait visuals.
Incorporating Hair Accessories
Adding Accessories: To convey personality and style, I sometimes include accessories such as headbands or hair clips. This requires attention to detail to accurately represent how they affect the hair’s form and how shadows and highlights interact with these objects.

Impact on Hair: When hair is tied or styled using accessories, different textures emerge, such as the sleekness of tied-back hair or the frizziness of escaped strands. Understanding these subtle changes is key for a pro-level depiction of medium hair and other lengths or styles.
Experimenting with Hair Color and Lighting
Hair Color: The diversity in hair color can be both a challenge and a joy to represent. I find that layering colors helps create depth and richness, using a variety of hues to reflect light and show color variation.
Lighting Effects: Knowing how light interacts with hair is essential. Light can change the appearance of the color and texture profoundly. I consider where the light source is coming from to create believable highlights and shadows, providing a guide to drawing hairstyles with volume and movement.
Challenges and Solutions
When it comes to drawing hairstyles ideas, artists often face a couple of common challenges. Let’s dive into these and explore some effective solutions.
Dealing with Common Drawing Hairstyles Ideas Issues
In my experience, overlapping lines can quickly lead to a muddled look, especially with complex hairstyles. To tackle this:
- Use a kneaded eraser: This tool is gentle on paper and can lift graphite without affecting your detailed work.
- Work in layers: Begin with light strokes, gradually building up to the dark areas. This creates depth and keeps the hairstyle looking realistic.
Another issue can be achieving randomness in strands to avoid a too-uniform look. Here’s what helps me:
- Switch up the pressure: Applying varied pencil pressure can mimic the natural variances in hair.
- Practice different textures: Experiment with curly, wavy, and straight hair on a scratch pad.
Improving Your Hair Drawing Skills
To enhance your skills, nothing beats consistent feedback and practice. Consider:
- Building a portfolio: Collect your work to monitor progress.
- Seeking critique: Join forums or art communities where you can get constructive feedback.
Lastly, drawing realistic hair requires observation and understanding of light. For this:
- Study reference photos: Observe how light interacts with hair.
- Sketch a variety of styles: More practice gives you a better feel for creating volume and texture.
By overcoming these challenges, not only will your drawing hairstyles ideas improve, but you might reap the satisfaction of seeing your artwork in a publication one day.
Using References and Resources
When I’m drawing hairstyles, choosing quality references and utilizing the right resources is critical. They provide the detail and accuracy needed to bring my illustrations to life.
Choosing the Right Reference Photo
Selecting the right reference photo is a cornerstone in the creation of a realistic hairstyle. It’s important to find a photo that offers clear visibility of the hairline, individual strands, and the way light interacts with the hair. This clarity allows me to capture the essence of the hairstyle, from the subtle wave in the strands to the softness of the hairline. If you’re interested, I can recommend taking a look at my other articles in the drawing references category of this blog.
Online Resources and Books
There are plenty of online resources and books specifically tailored to artists looking for drawing hairstyles ideas. Websites like Don Corgi provide extensive lists of references, ensuring a rich variety of styles to study and incorporate. Similarly, drawing-focused books often have dedicated sections on hair, teaching how to render hair strands with both accuracy and style. Using these resources, I expand my knowledge and skill set, finding new and exciting ways to approach hair in my artwork.
Frequently Asked Questions
In exploring drawing hairstyles ideas, I’ve gathered some common questions to assist with your artistic journey.
What are some simple steps to draw hairstyles?
Creating hairstyles starts with understanding the hair’s overall shape before adding details. For a helpful tutorial, visit How to draw hair step by step.
How can I create realistic-looking hair in my drawings?
Realism in hair drawing comes from observing how hair flows and falls, including its texture. Details on curls can be found at Curly Hairstyles.
What are some tips for drawing long hair?
For long hair, consider how gravity affects it and how it lays on the shoulders. My Modern Met offers insight into drawing long hair.
Can you suggest easy hairstyles to draw for beginners?
Beginners can start with simple styles like a bob or a ponytail to practice. MediBang Paint has techniques for easy hairstyle drawing.
What are some cute hair designs to add to my character sketches?
Experiment with bangs, braids, or fun accessories like bows to enhance character sketches. Check out the step-by-step bangs tutorial.
How do I differentiate between male and female hairstyles in my artwork?
Observe different characteristics like length, volume, and styling. Male hairstyles tend to be shorter and simpler, while female styles often have more variety and complexity.
If you liked this blog post about Drawing Hairstyles Ideas, don’t forget to leave me a comment down below to tell me about your experience with it.
